Tuesday, October 14, 2014

Fall Outfit!! Simplicity 1801 & McCalls 6844

Some patterns once completed are tossed into the "meh" file. But then there are others that I use over and over...this blouse pattern is one of those. My copy of Simplicity 1801 is becoming so tattered, ripped and snipped up from all my use that I'm regretting not tracing it off in the first place to preserve the original.

Here's one of my versions. I actually finished this months ago, but figured why not blog about it now?


One thing that makes this pattern so great is it's timeless style: the gathered bust, sweet puffed sleeves, the flattering waistband and the gathered skirt. 

I used black dotted swiss from Osgood's (still haven't met any polka dots I didn't like). The pattern is super easy and except for the tedious task of gathering small areas, I blasted through the blouse in an afternoon and loved every minute of it. I think this was my first time inserting a side zipper, and was a breeze. 


Another closet staple has become my version of McCalls 6844. I've made 3 cardigans and aint stopping there! 


This little number is another last-winter-make but it seemed ok to blog now. This pattern works up so fast and is another easy peasy construction. I used some really soft knit fabric with an Aztec-y pattern from Joann's. 


Peplum!


Let's hear it for camera self timer!

Next I'm tackling some pants! And the stupid fly part!

Sunday, September 14, 2014

Making My Wedding Dress: The Final Post

My last post left me at the point where I was proud of what my dress became, but disappointed at the lack of luster. I toyed with the idea of hand sewing beads and sequins, thought about borrowing a sash from a girlfriend...but I wasn't quite sure if either were right. After weeks of thinking and browsing fabric stores...I found the perfect touch, a sequined lace sewn-in sash.

And...we're finally finished!!
I traveled back up to Osgood's and found this lace trim, hand sewed it in...and done.


After last minute touches, like sewing in hanger straps and having a good dry clean, it was ready for the big day!


My awesome bridesmaids (and our photographer, Jerome) squeezed me into my dress...was it tough because of the faulty zipper, or the extra Les' ice cream cone I couldn't resist (almost every other night)?


First Look!!
Any other brides considering doing a "First Look" with their fiancee, I highly recommend it. We were able to act on our overwhelming emotions and share with each other how we felt. It was just as special, (maybe a little bit more as it was totally intimate) and it made the aisle walk a little less nerve-wracking. (Plus we got to join cocktail hour :)


While Ryan MAY have seen parts of the dress construction (or even the final result while it was on my dress form) I still love how excited he looked when he saw me in it :)


Our wedding and reception was held at The Golden Lamb Buttery in Brooklyn, CT. A wonderfully magical, whimsical place that blew us away with everything.


I remember telling Ryan a Louis CK joke to make him laugh for this picture...


One thing I really didn't consider much was making a bustle. Wedding Day I begged the hotel front desk for safety pins so I could have my train lifted a little bit. 


Bustle's good enough...who's really looking anyway?


I had leftover fabric so my florist The Flower Girl tied all of the bouquets, corsages and boutonnieres with a little bit of the swiss dot.


And the woman who's dress inspired mine..my grandmother Marion

The real test was how "danceable" it was...I danced all night and thanks to my boning and super tight fit, no nip slips!

I also crocheted my cake topper...oops, look like the groom took a dip in the frosting :)


One more picture to show off our awesome photographers, Studio1923, Amanda Sumislaski and Jerome Braga. All of the wedding day photos were their amazing work. They were the greatest!


Even after using the leftover fabric for the flowers, I still have about a quarter yard for future special projects.  I'm holding onto it until I find the right way to use it.


Monday, September 8, 2014

Making My Wedding Dress: Part Duex

So I left off where I began my wedding dress fabric search. I googled around in search of dotted swiss, ordered a couple of swatches, but after a trip up to Osgood's in West Springfield, Mass, I came home with the perfect material. 

Gosh I love polka dots!

I cut out my pattern in the dot fabric and the underlining. The underlining is just a heavy cotton, nothing remarkable except that it drapes well and is thick enough to hide any colors underneath. (Suppose I could have worn bright blue undies and no one would have seen ;)


A little tip I learned from Gertie, pin the fabric to the underlining outwards to slightly pull the fabric taut.


For neatness I sewed the skirt together with French seams...it added tad bit more bulkiness, but it was  much cleaner looking inside. 


Ok so now with the bodice attached to the skirt it finally looks like a dress! Making headway!

Boning inserted and lining attached
For my "something blue" I used my embroidery function on my machine to embroider a quote that a beloved Aunt once said. I sewed it right into the lining with blue thread. I didn't stabilize the fabric so it is a little jumbled up, but it doesn't matter, at least I know it's there, and what it means. I forgot to take a picture during the construction process but in my next post I will share it :) 

The original pattern had waist ties that I very neatly sewed into the bodice. They were cute, but there was something about them I didn't love, so I picked away at the side stitches and ripped them out. See ya. 

Now on to the daunting task of hemming....but never fear, I used my rolled hem foot! This is actually my first time using it (aside from a quick test hem). It wasn't perfect, but I felt that my time and sanity was worth preserving. 


With the zipper inserted and the skirt hemmed its now finished...or it is...


While I finished the dress, felt proud of my work (meaning I did not cut corners) and it fit me perfectly, I saw it as a little 'blah". I liked the simplicity of the original...Ivy & Astor's "Sweet Pea", but my version was a little boring.  

Maybe it could use some cap sleeves...


Nah...to sun dressy. I also asked the opinion of some of my fashionista friends..."lose the sleeves, Sam"

But it's still so blah...what does it need? BLING...SHINY THINGS...

OK, so it's not quite Lil Wayne bling, but gold is overrated anyway.

I'll blog about how I "blung up" my dress next! And post wedding pics!

Making My Wedding Dress: Part I

Just like most little girls, I started dreaming about my wedding dress long before I met the man I now call my husband. Even before Ryan proposed, I had ideas strewn about my secret "wedding" board on Pinterest. Always having an eye for the unconventional, I knew my wedding dress had to be a little bit different too.

One great thing about having sewing skills and knowledge about pattern making and alterations, is that I could find the perfect wedding dress and figure out how to make it myself.  I searched the internet and wedding magazines for ideas and inspirations.  One inspiration was not far away...


These are a couple of my grandparent's wedding pictures from the mid 50's.  My grandmother made her dress (as so many women did). She used dotted swiss which was very popular back then. How cute is her tea length skirt?

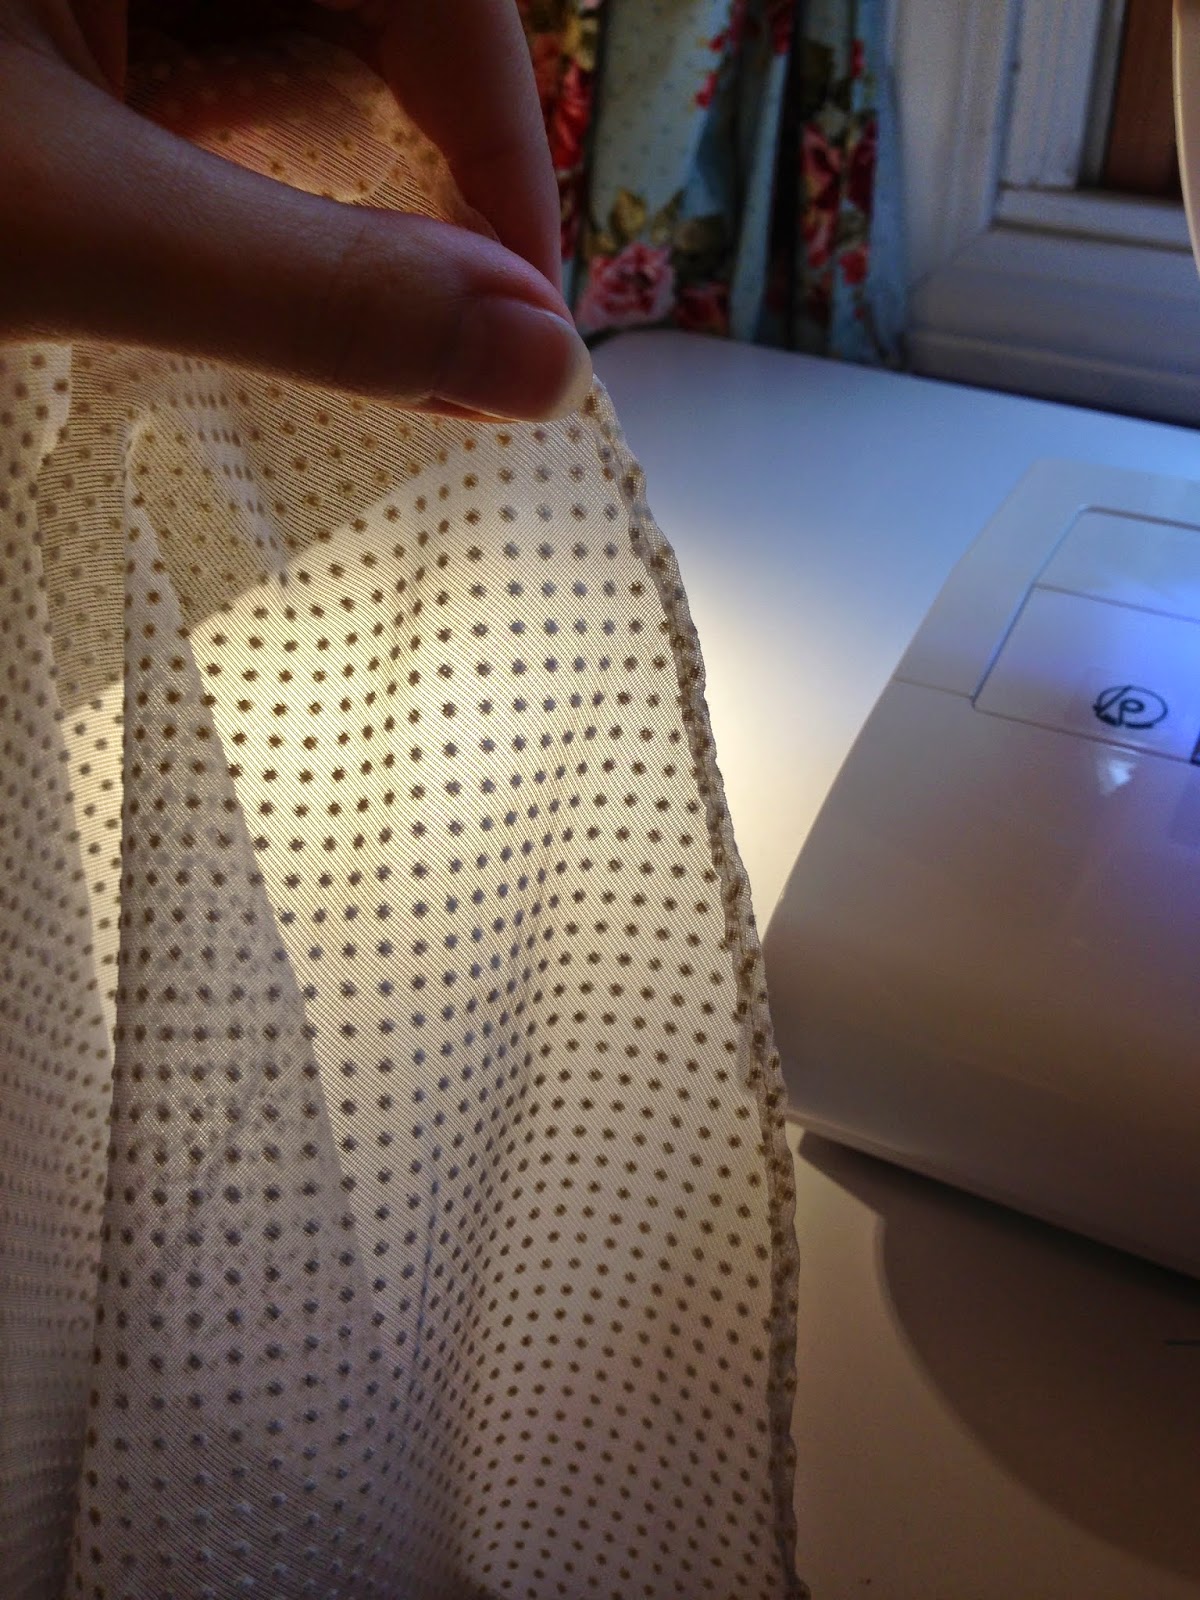
Using her dress as an inspiration, I decided on using dotted swiss as the material for mine. Now on to styles...

I found this beautiful dress while browsing online: Ivy & Astor "Sweet Pea"

I loved the sweet simple style of the dress, the sweetheart neckline, bustline rouching and soft drape of the swiss dot material. Could I actually try and make something like this? 

For help, I googled "homemade/handmade wedding dress" and didn't find a whole lot, but did come across this blog: smoonbeam.blogspot.com. Wow this girl knew what she was doing! I actually ended up already having the patterns she used and altered...so once I had a starting point and a little bit of reference there was no stopping me.


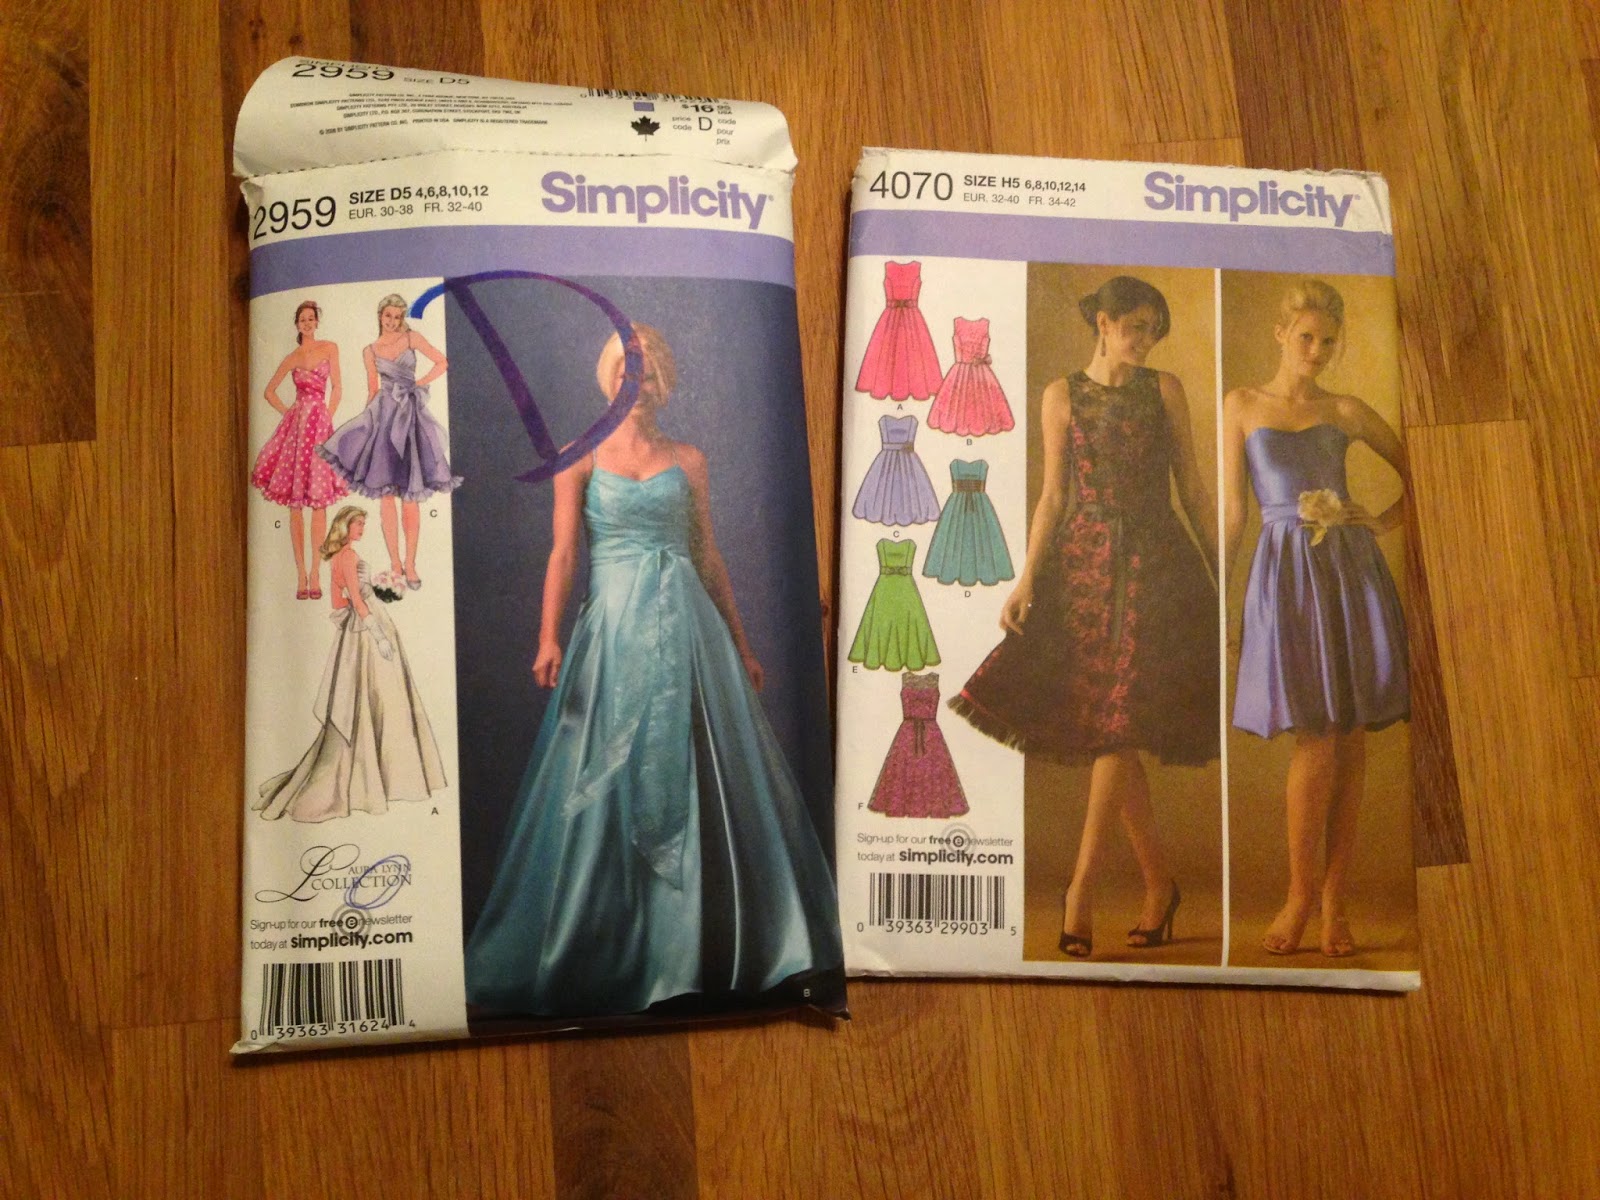
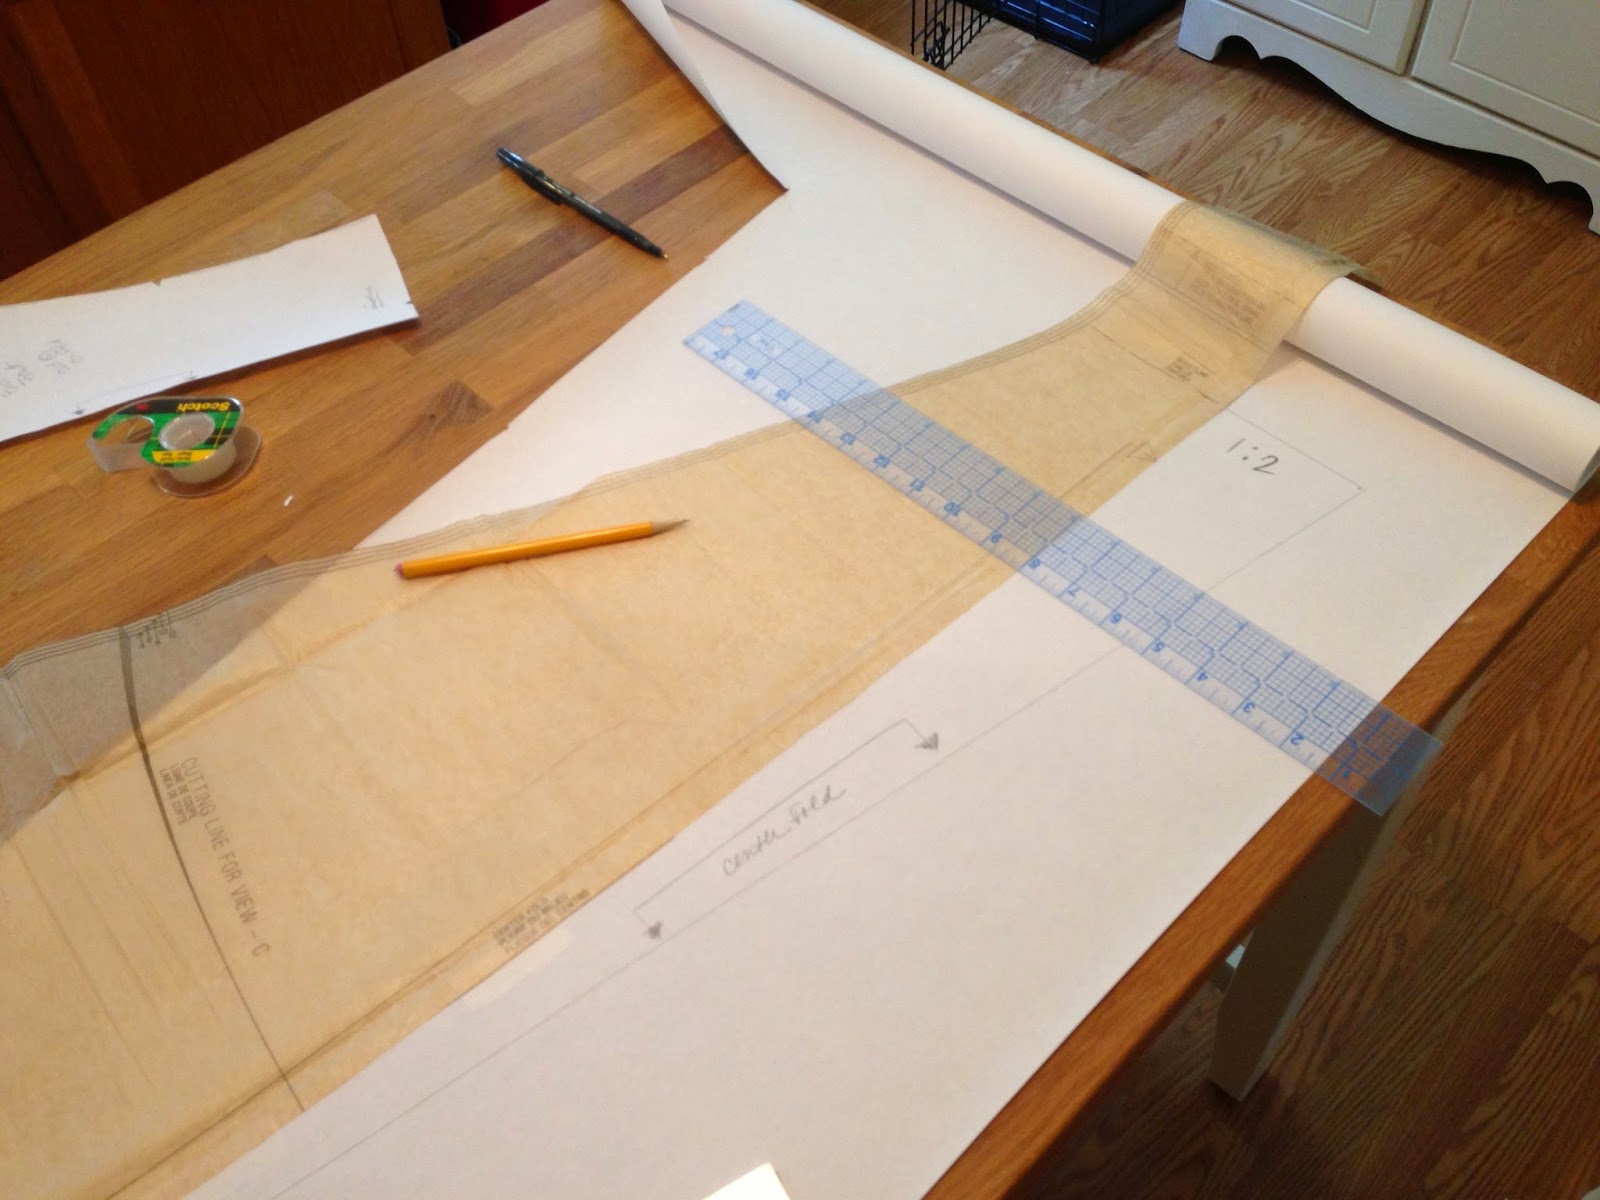
In Simplicity 2959 I liked the bustline rouching and small train but I knew I wanted a gathered skirt. I decided to use Simplicity 4070 which gave me an idea where to appropriately separate the bodice from the skirt. Soooo...with my patterns in hand, I began to alter my pattern...

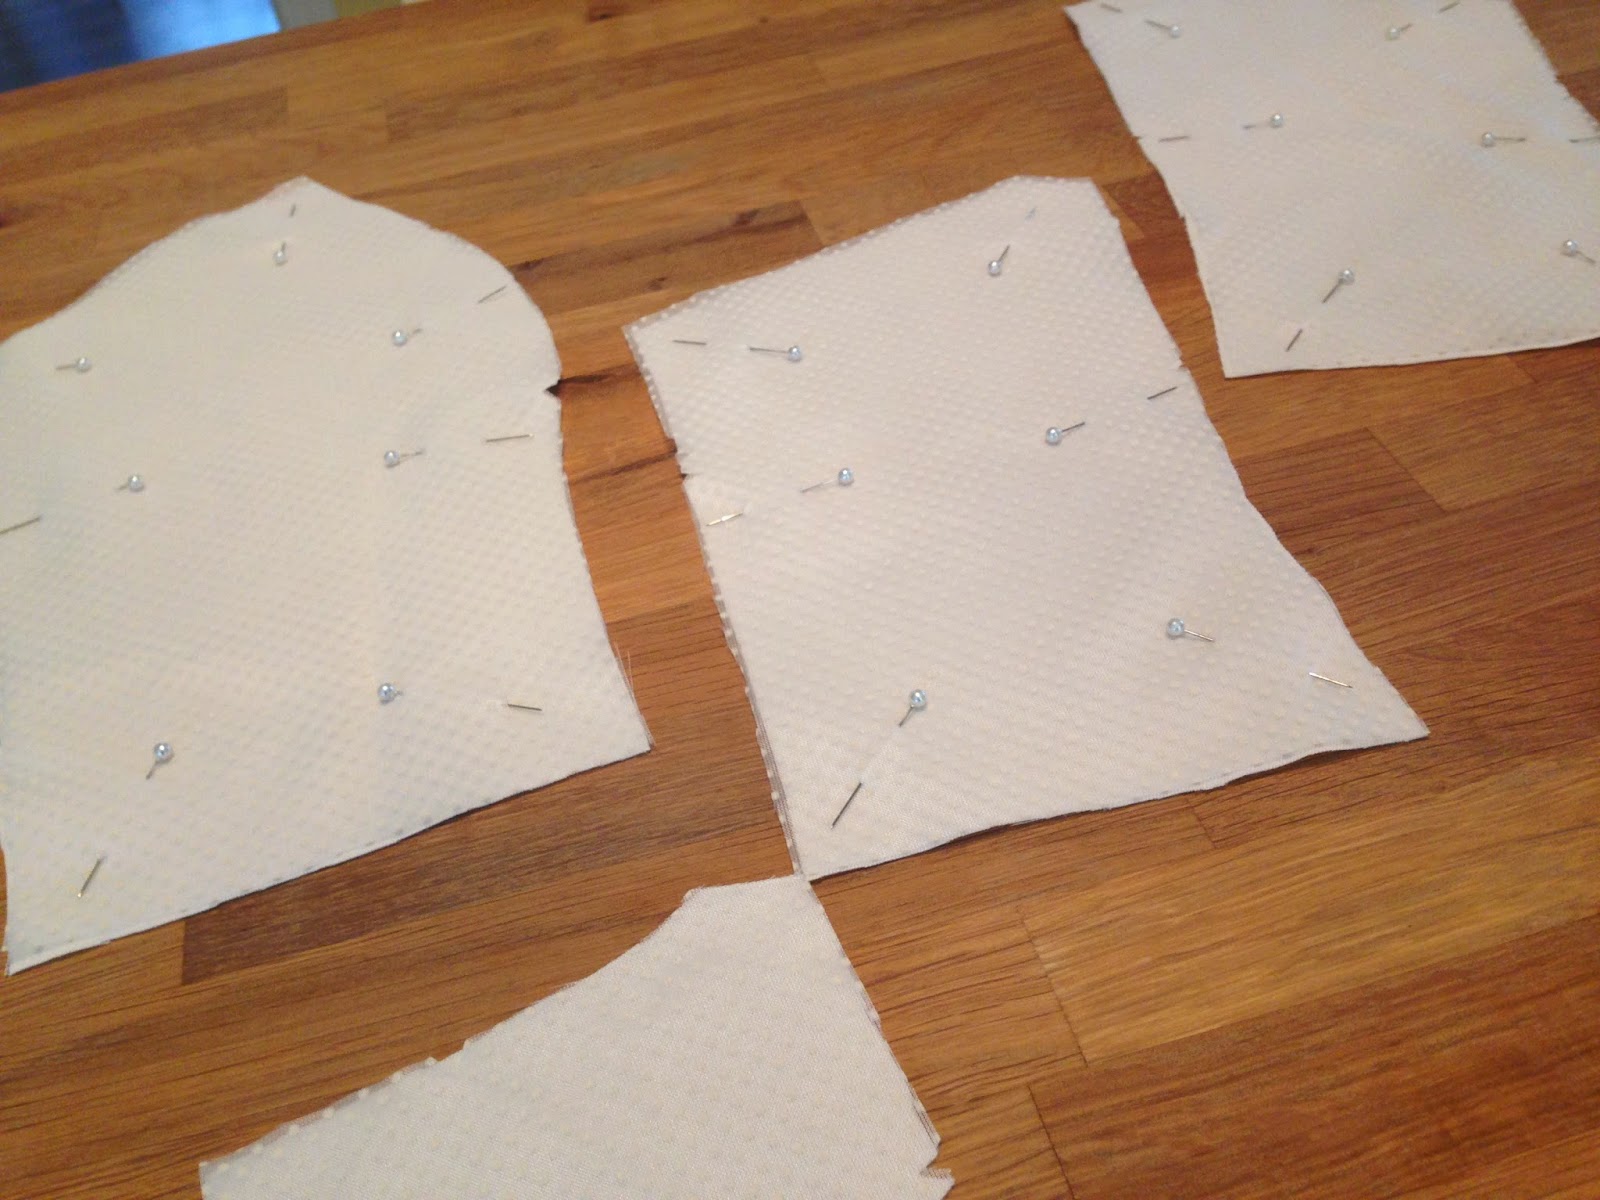
This is where I used S2959's front bodice/skirt pattern pieces, marked where the waist seam line would be and doubled the width so it could be gathered.

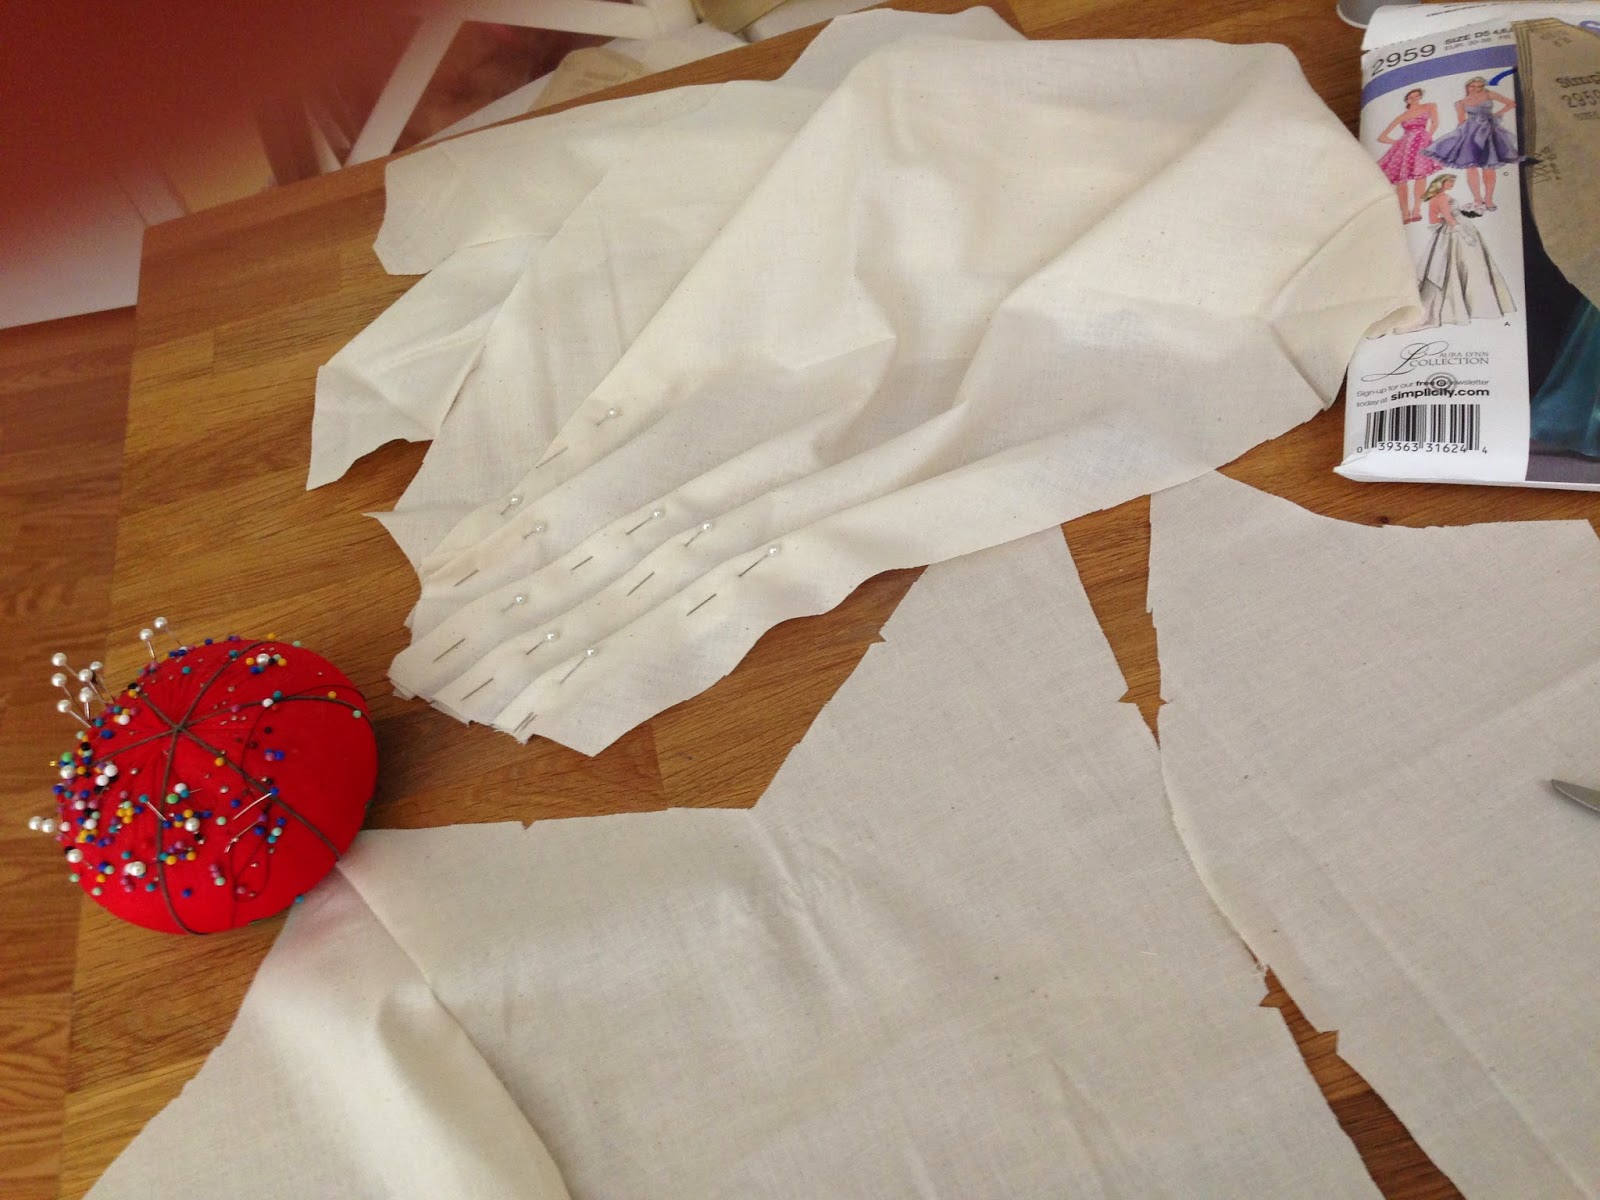
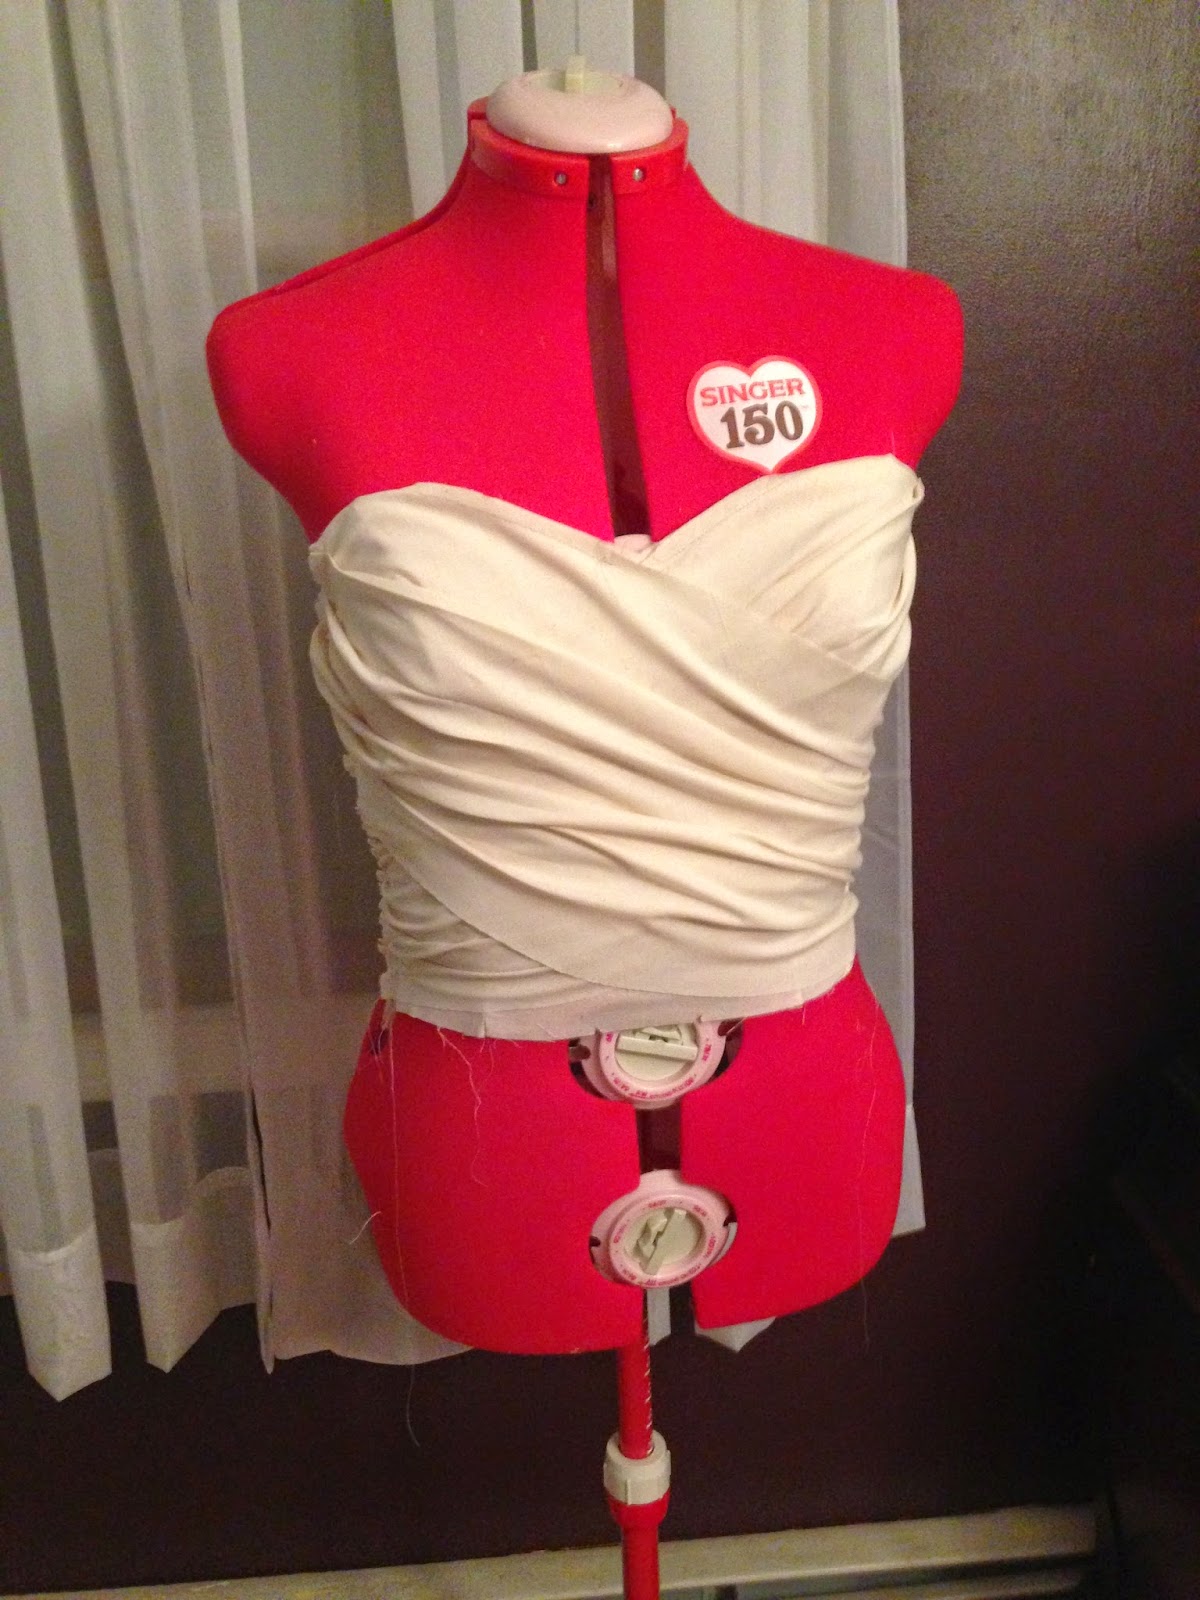
By this time I decided to go ahead and start a muslin to see what the bodice looked like.


At this point, I was already starting to become displeased with my poor pleating skills...

Just checking the fit...eek, a little snug!


Too pointy...


Just right...

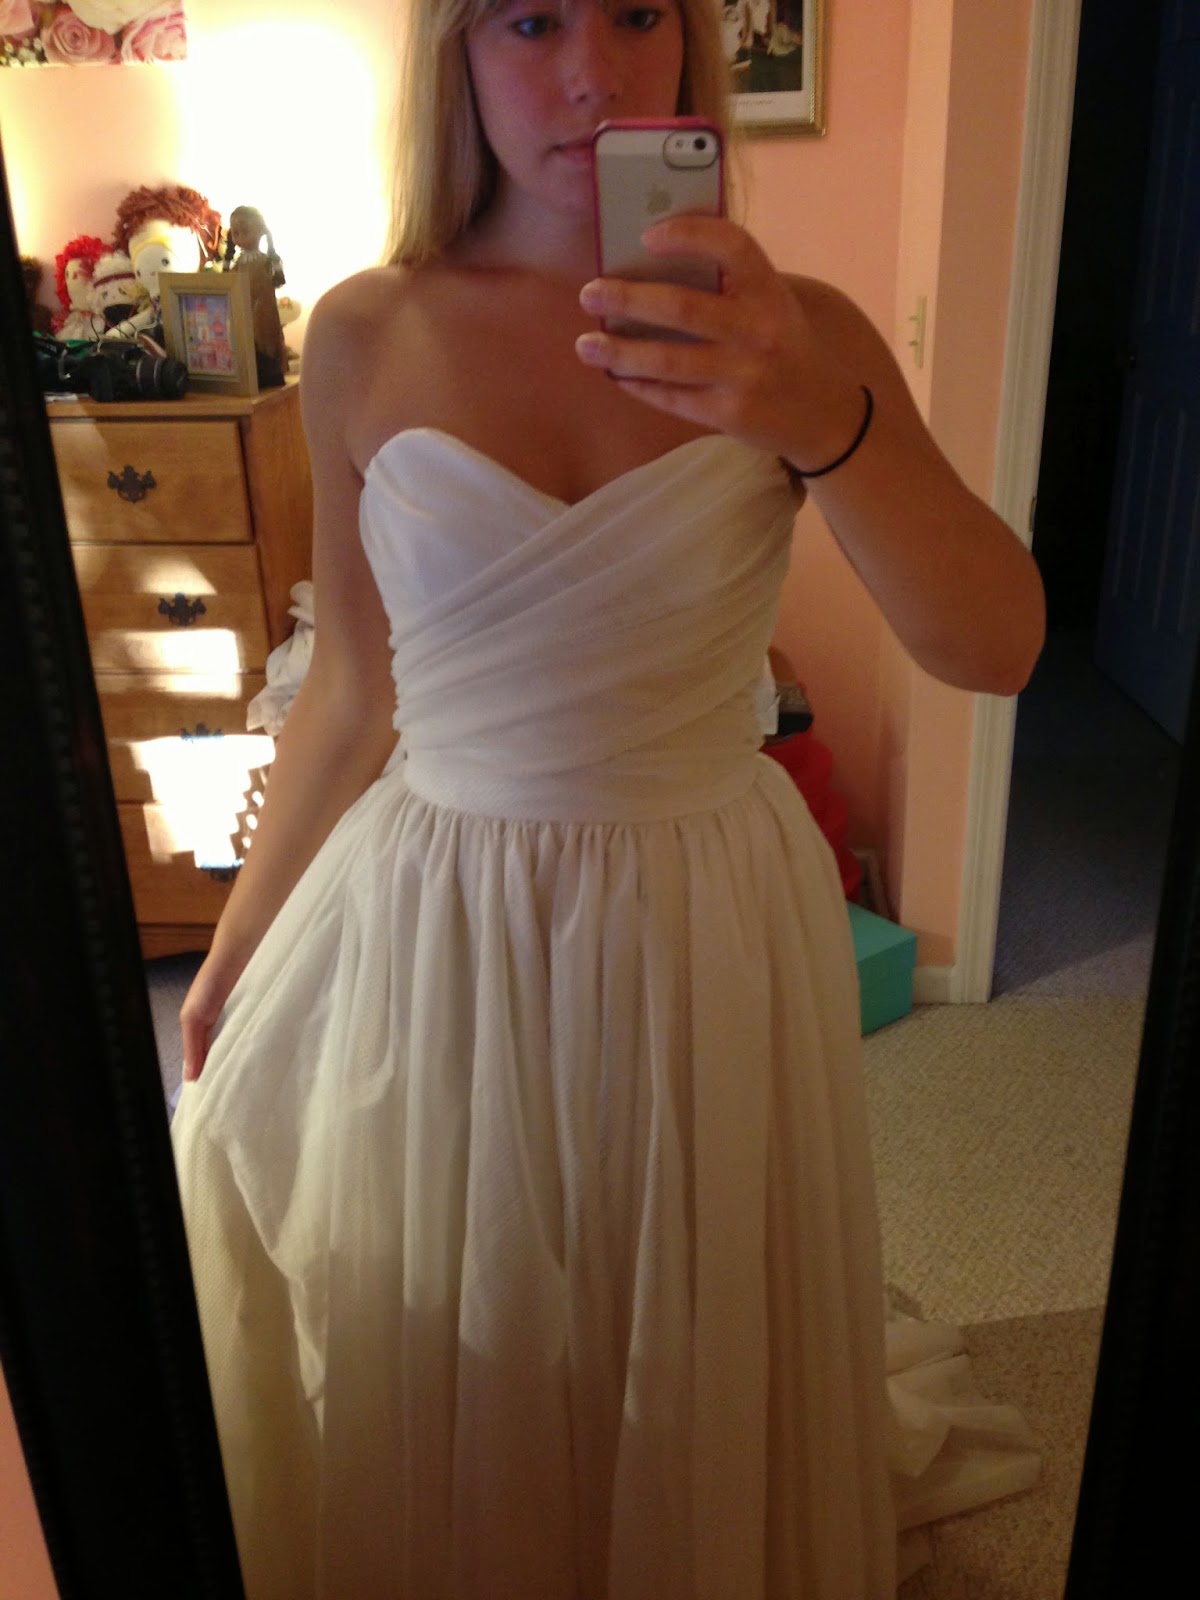
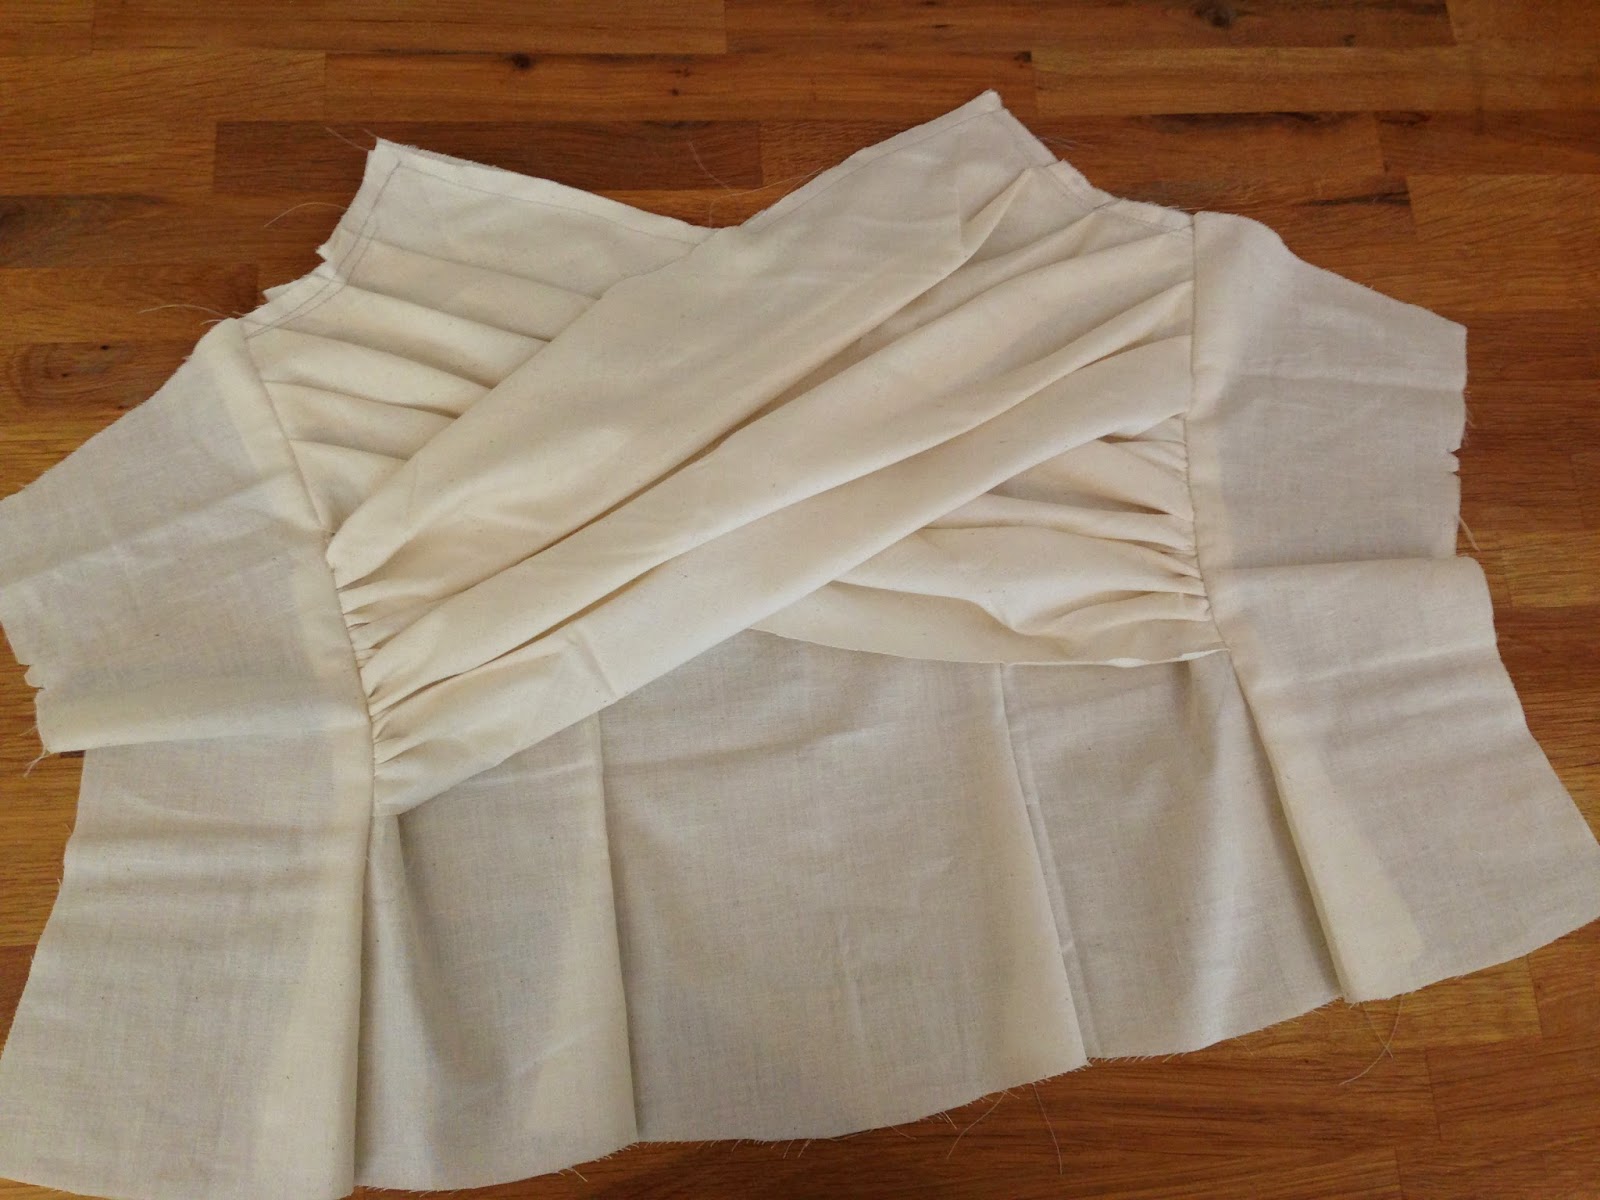
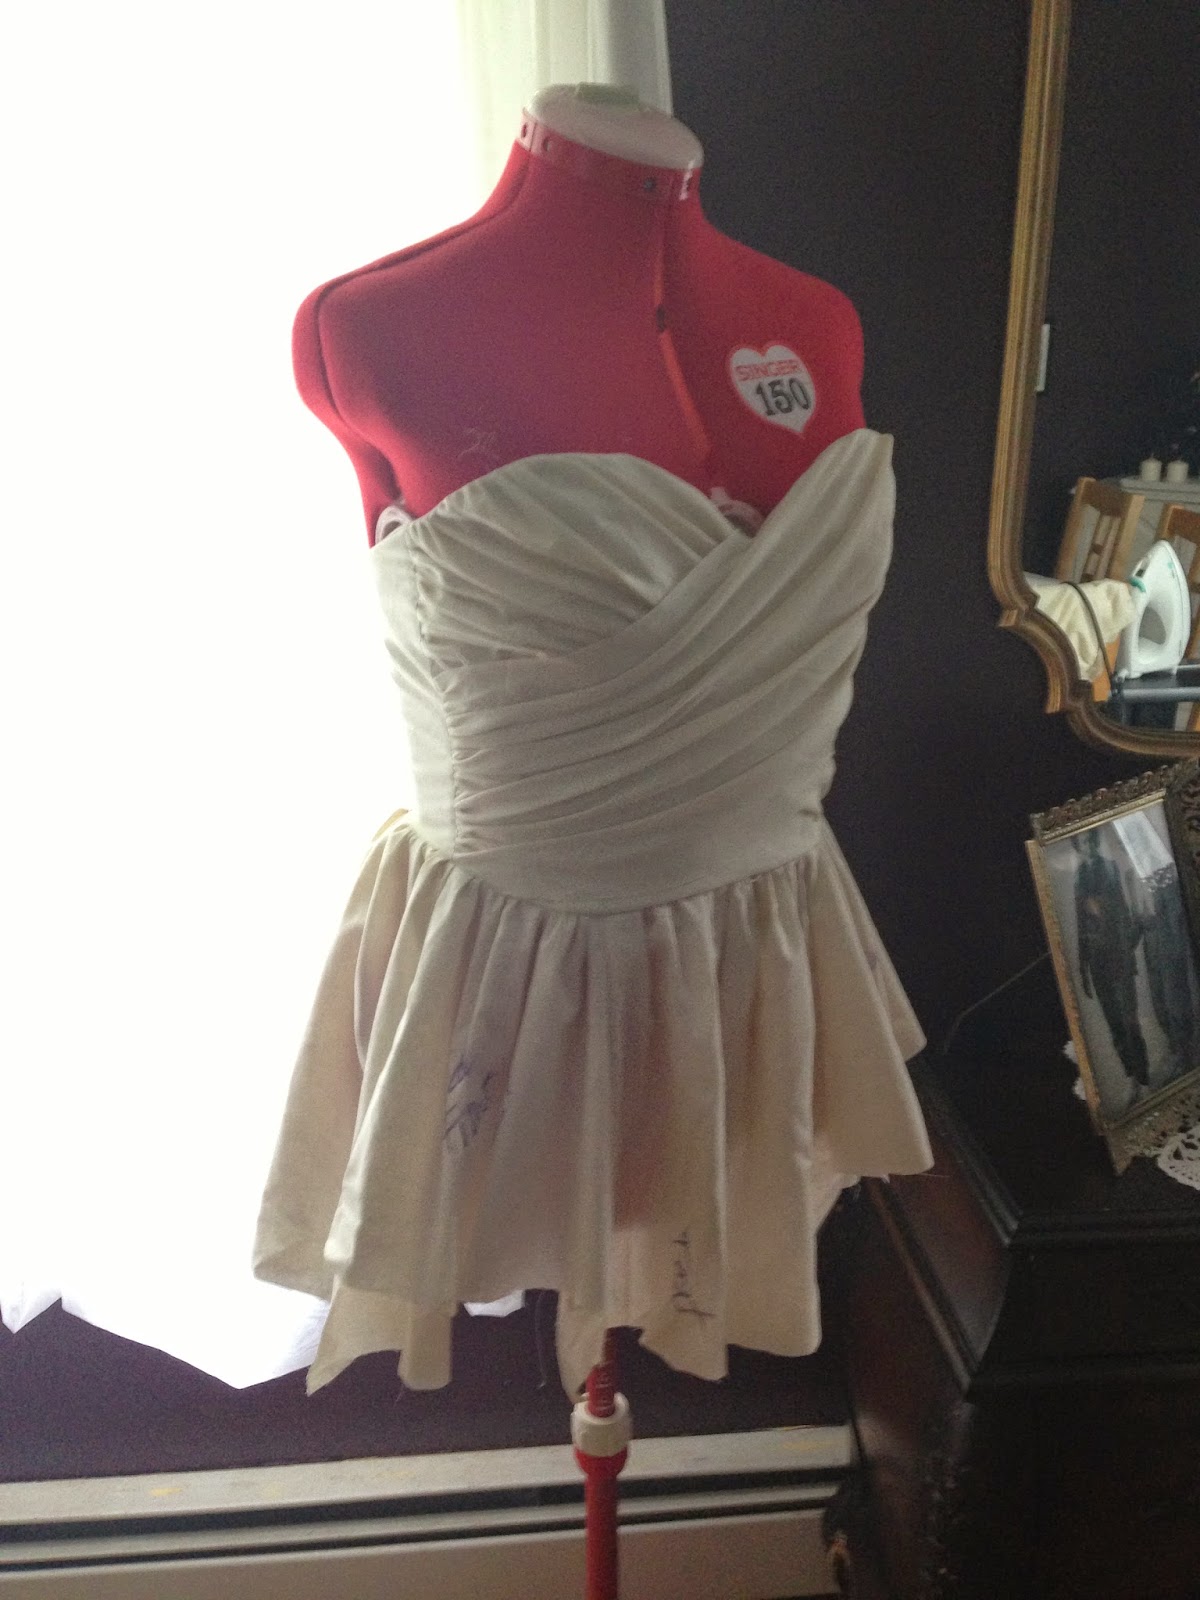
Now I said earlier that I really didn't love my pleats, so there's a simple fix for that...gathers! Much more forgiving, I made the side pleats into gathers instead. Unfortunately I don't have any pictures of the alteration process, but here's where I was finally satisfied with the (FIFTH) muslin. 

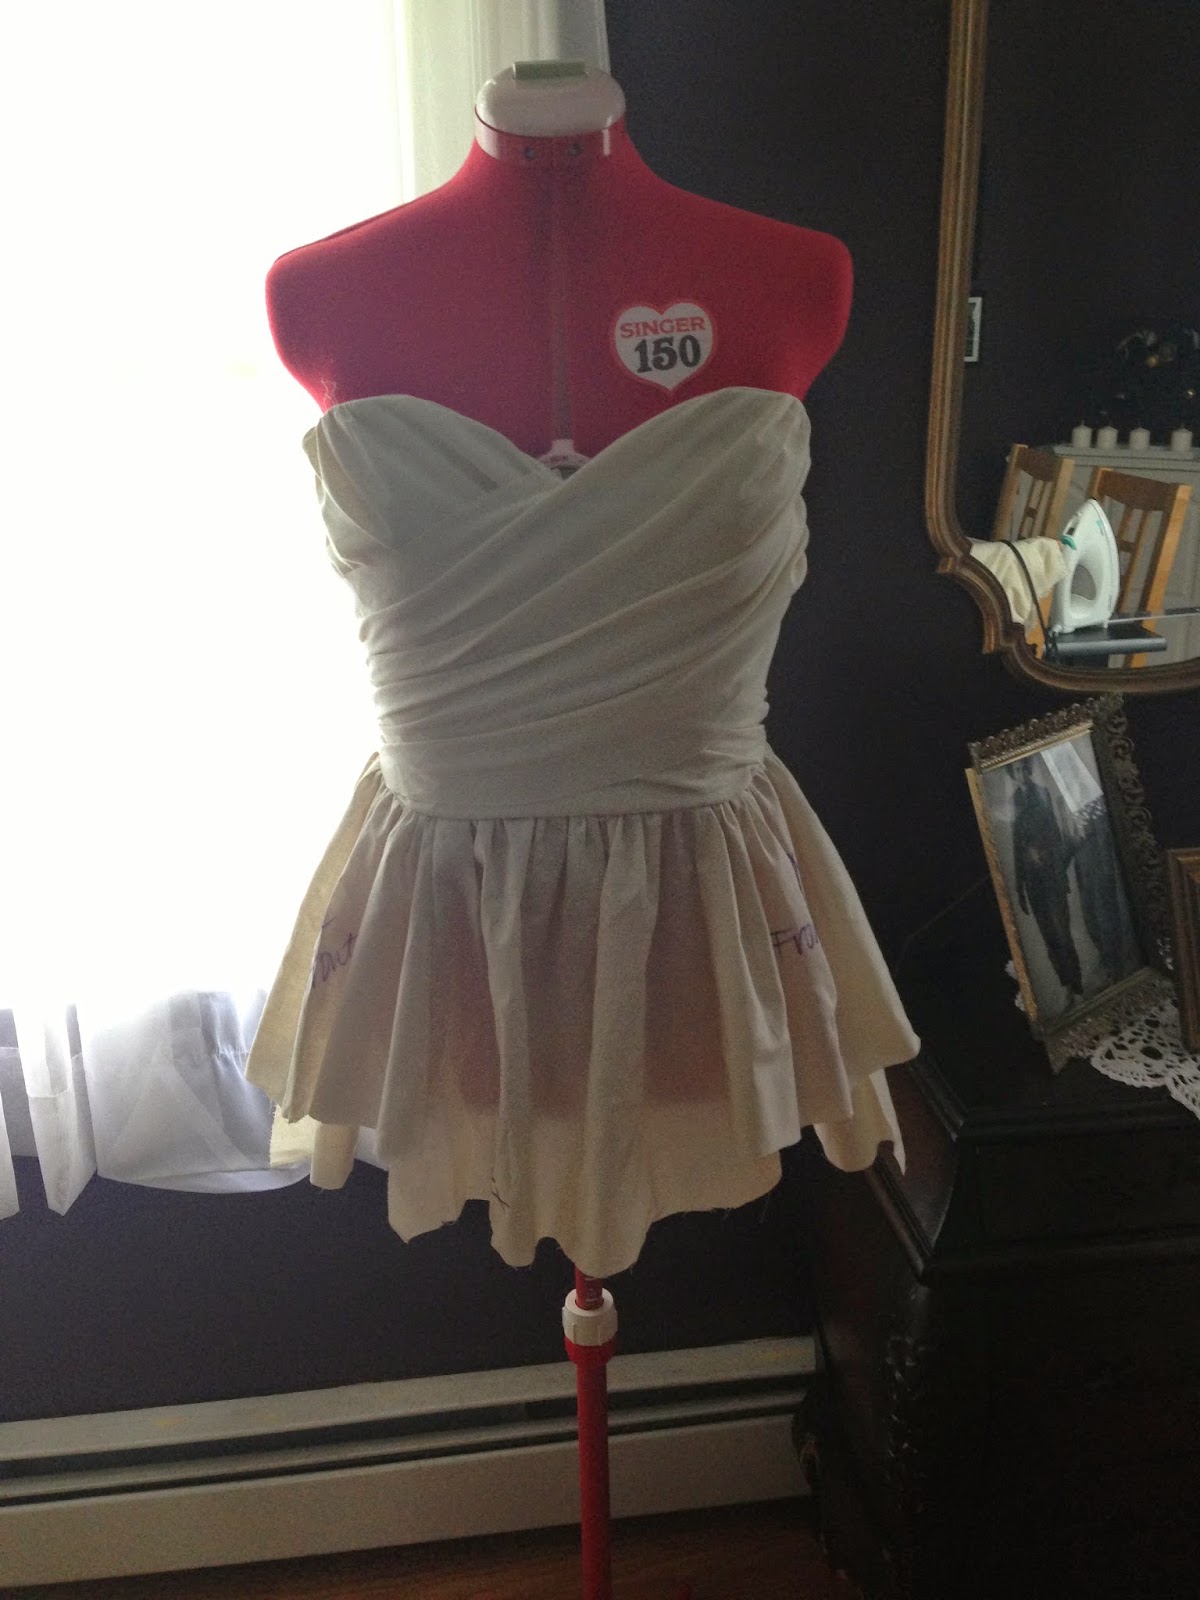
I also added part of the skirt to check that the gathers were full enough


Ok now I was happy with the style, fit and overall look, so time for fabric searching! Because there are so many pictures overall, I decided to split the posts into a couple of them. Stay tuned for the construction, details and finally the finished dress :)